Garage doors are the most important components for enhancing your home’s safety. Installation of such doors in your garage keeps your car and other assets safe and prevents malicious intruders or thieves. But a question arises: How can you take care of garage door installation? Nothing to worry about if you don’t know about garage door repair and Installation. This blog will demonstrate the best tricks for installing garage doors and enhancing home security.
Equipment Required during Garage door installation
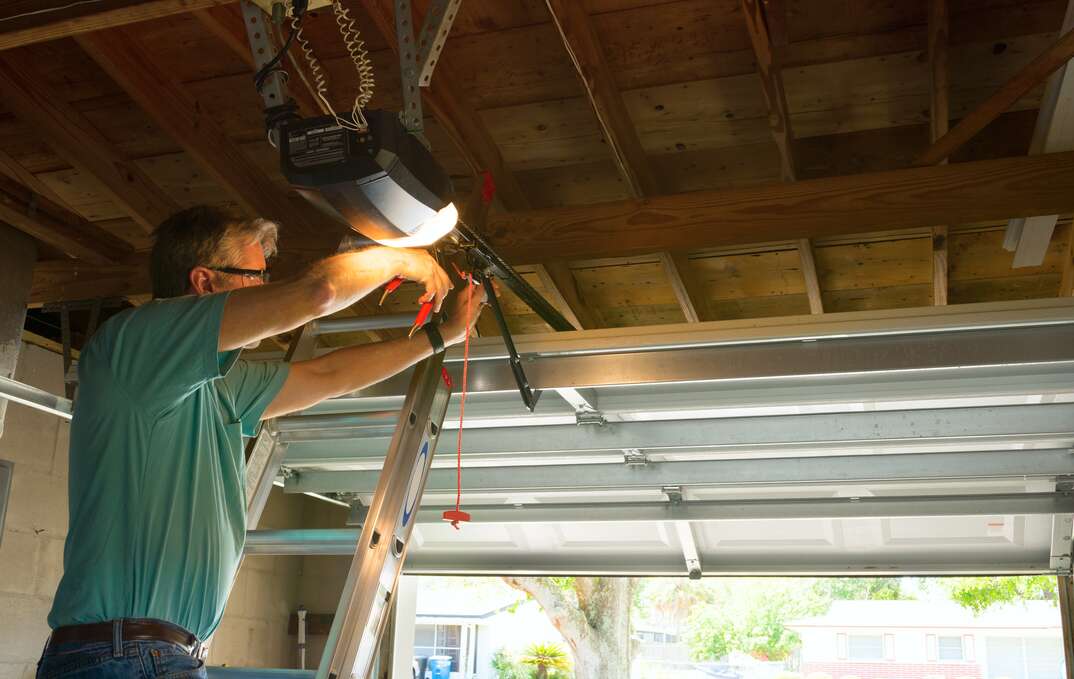
Before installing your door, you must know the equipment used and its significance.:
- Locking grills
- Wrench set
- Drill
- Ladder set
- Safety glasses
- Four-foot levels
- Brand new garage doors
- Steel cables
- Weatherstripping
- Hooks
- Shims
- Garage door spring
- Screws 3-Inch
We are happy to assist you whether you are up for door installation or garage door opener repair.
Best tricks for Garage door installation
Step one. Unlock the garage door.
The first step of the garage door installation process is to unlock the garage door. It doesn’t mean unlocking the garage door with a key but releasing the pressure in the torsion spring. Perform it carefully; otherwise, the garage door can cause major injuries. Commence your process by clamping pillars on the torsion spring shaft & get the pillars against the header wall in the upper direction above the door.
After that, insert a steel rod into one of the holes in the winding cone. Once you perform this task, you can start reducing the grip of screws holding up the torsion spring tension and use steel rods to loosen the spring slowly until all springs are loosened.
Step two. Remove door panels
In the next move, you must remove the top panel & the hinges linked to the panel below it. Disconnect the track by unscrewing it from the main door frame. Again, ensure safety and perform all tasks carefully. If you are working with glass panels, include two personals and do it very carefully. When you are up for garage door opener repair, you can effectively mitigate this to save time and effort.
Step three. Try to link panels.
In the third step, you must link hinges to the top of every panel before embedding them on the garage door. Place the bottom panel into the face of the door opening and hold the panel in the upright direction by driving a nail into the wall next to the panel.
Step four. Checking the track in the garage door installation process
Once you have attached the hinges with panels, it’s time to track the record and secure the top half of each hinge to the panel above & then allocate the wheeled axles into the side hinges, doing the same process for the top & bottom. Test the axles out to ensure they slide along the track.
Connect the door cable to the bottom panel axle support’s hook. Check that all the hinges are secure and all the brackets are properly attached.
Step five. Install new springs
Align together the pieces that support the spring assembly & interlinked them to the track. Fasten the other end of the track to the ceiling clip after resting the curved part of the track on the vertical piece. The tracks should then be bolted together. Install the spring anchors and locking cone, then securely bolt the two springs to the main header bracket.
Step six. Wrap up
Once all done, wrap up your tools and other valuable assets and check the newly installed garage door three to four times.
Final Verdicts!
Garage door installation is relatively easy if you follow the above-mentioned steps and do it independently. I hope you like our content and get valuable information about the installation process.


Leave a comment